
So, you've just purchased a brand new electric bike? Congratulations! Assembling your new e-bike can seem daunting, but with the right preparation and knowledge, you'll be cruising around in no time. This guide from E-Bike Buddies will walk you through the process, helping you avoid common pitfalls and ensuring your e-bike is safe and ready to ride.
Unboxing and Inventory
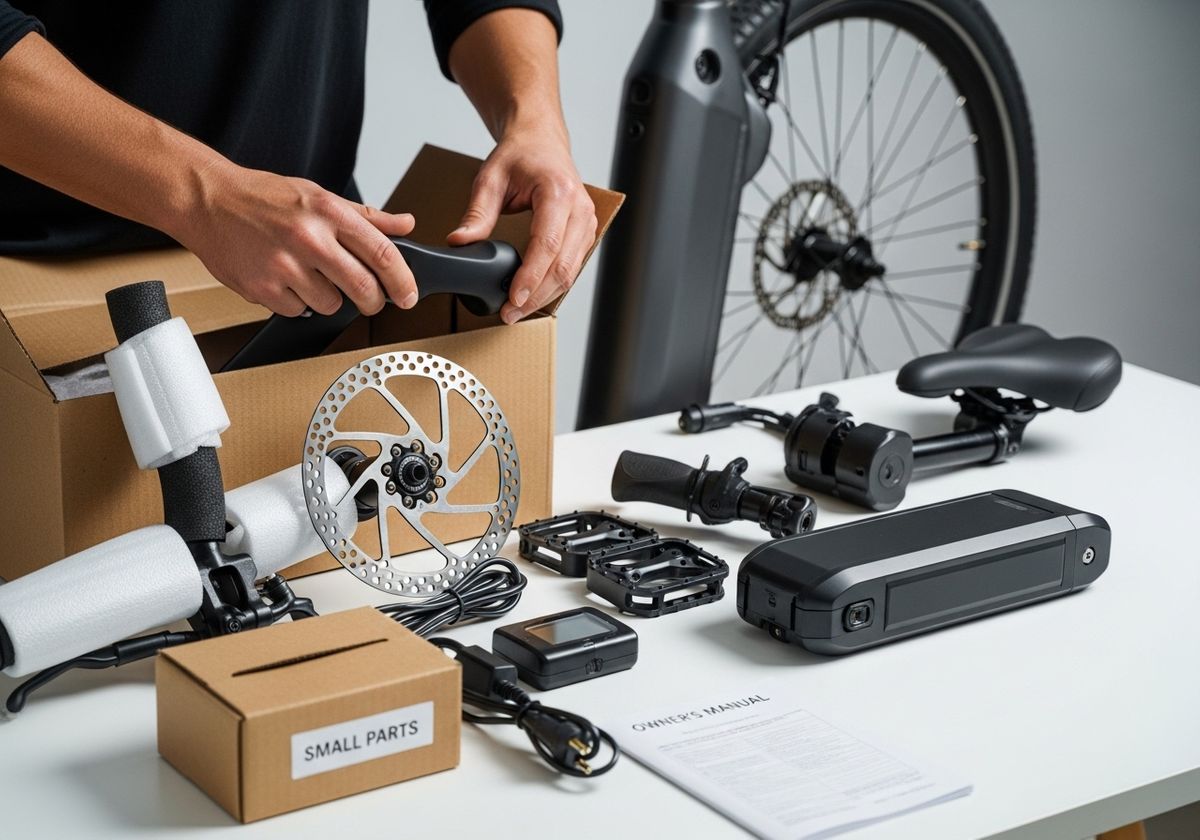
Before you even think about touching a tool, carefully unbox your e-bike. Most e-bikes come partially assembled. Take inventory of all the parts. You should have:
The e-bike frame
Front wheel
Handlebars
Seat and seat post
Pedals
Battery and charger
Display unit (if applicable)
A box of small parts (screws, nuts, bolts, zip ties, etc.)
Owner's manual
Cross-reference these items with the owner's manual to ensure nothing is missing. If something is missing, contact the retailer immediately.
Essential Tools
Having the right tools makes the assembly process smoother and safer. Here's a list of essential tools:
Allen wrench set
Wrench set
Screwdrivers (Phillips head and flat head)
Torque wrench (highly recommended)
Cable cutters (for trimming zip ties)
Grease
Step-by-Step Assembly
Install the Front Wheel: Carefully insert the front wheel into the front fork. Make sure the wheel is properly seated and aligned. Tighten the bolts or quick-release lever securely.
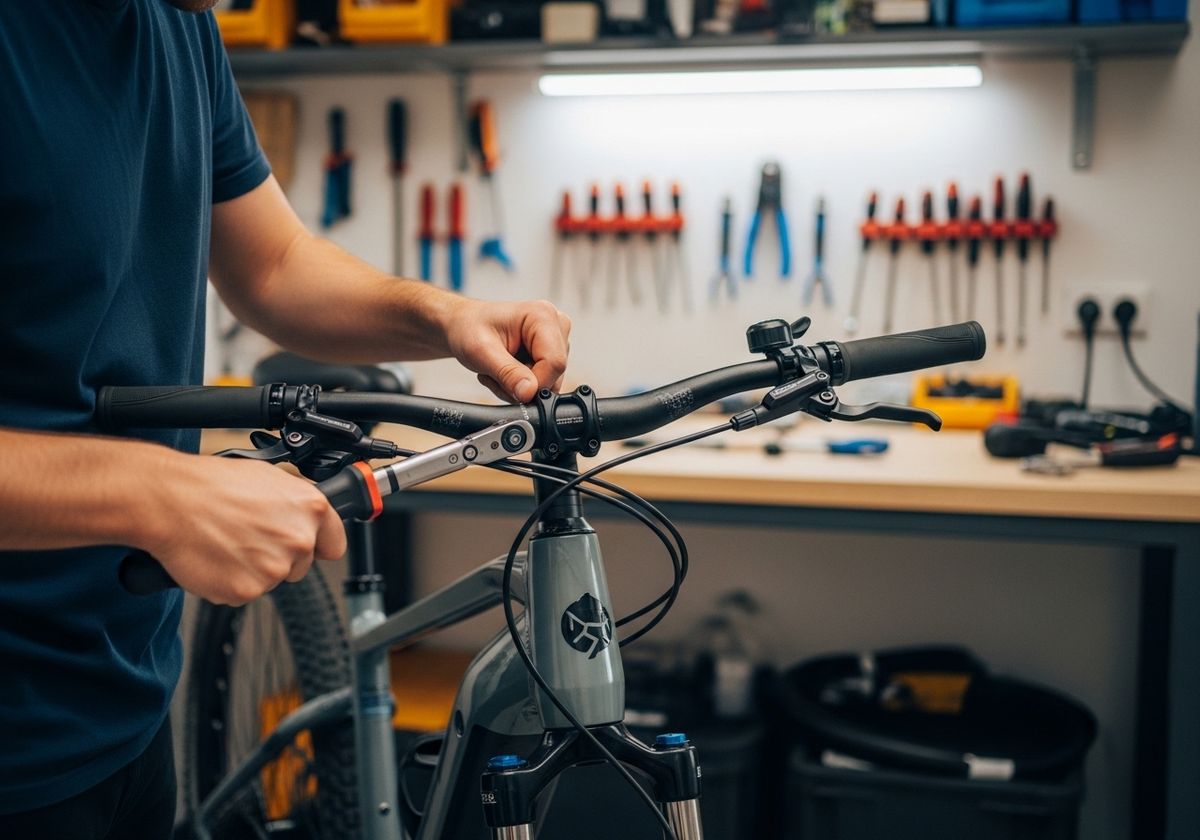
Attach the Handlebars: Place the handlebars into the stem and tighten the stem bolts. Ensure the handlebars are centered and at a comfortable angle. Use a torque wrench to tighten the bolts to the specified torque.
Install the Seat and Seat Post: Insert the seat post into the frame and tighten the clamp. Adjust the seat height to your preference. Again, use a torque wrench for proper tightening.
Attach the Pedals: Pedals are usually marked with an "L" (left) and "R" (right). The right pedal tightens clockwise, while the left pedal tightens counter-clockwise. Apply grease to the pedal threads before installing.
Install the Battery and Display Unit: Attach the battery to the frame according to the manufacturer's instructions. Connect the display unit to the handlebars and plug in the necessary cables.
Adjust Brakes and Gears: This is a critical step. Ensure the brakes are properly adjusted and functioning correctly. Shift through all the gears to ensure smooth transitions. If you're not comfortable adjusting brakes and gears, it's best to seek professional assistance.
First Ride and Safety Check
Before your first ride, perform a thorough safety check:
Check tire pressure.
Ensure all bolts are properly tightened.
Test the brakes.
Verify the battery is fully charged.
Wear a helmet!
Start with a slow, controlled ride in a safe area to get a feel for the e-bike. Listen for any unusual noises and address them promptly.
Common Electric Bike Problems
Even with careful assembly, electric bike problems can arise. Here are a few common issues:
Battery Issues: Problems with charging, range, or battery life.
Motor Problems: Unusual noises or lack of power.
Display Issues: Display not turning on or showing error codes.
Brake Issues: Squealing, grinding, or ineffective braking.
Gear Issues: Difficulty shifting or skipping gears.
If you encounter any of these problems, consult your owner's manual or seek professional assistance.
Assembling your e-bike is an achievable task with the right guidance. Remember to take your time, double-check your work, and prioritize safety. If you ever feel unsure or overwhelmed, don't hesitate to seek professional assistance. Contact us today to schedule your electric bike repair or electric bike assembly service, and let E-Bike Buddies take the hassle out of e-bike maintenance!